Introduction:
Silk thread-wrapped bangles are not only beautiful but also a great way to add a personal touch to your accessories. In this step-by-step tutorial, we will guide you on how to make your very own silk thread bangle at home. Whether you prefer a single color or a combination of colors, this DIY project allows you to unleash your creativity and create something truly unique.
Materials You Will Need:
- A plain bangle
- Silk threads in your desired colors
- Glue
- Scissors
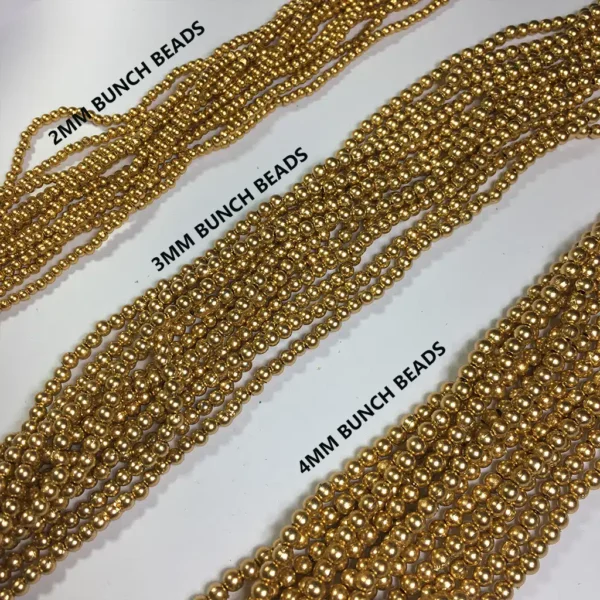
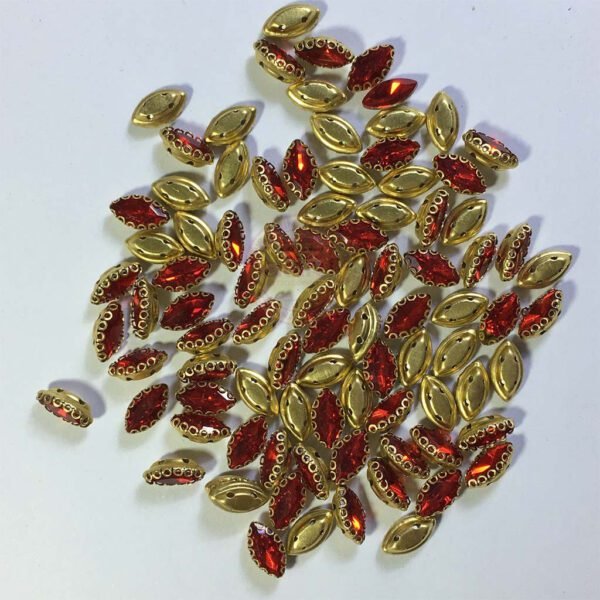
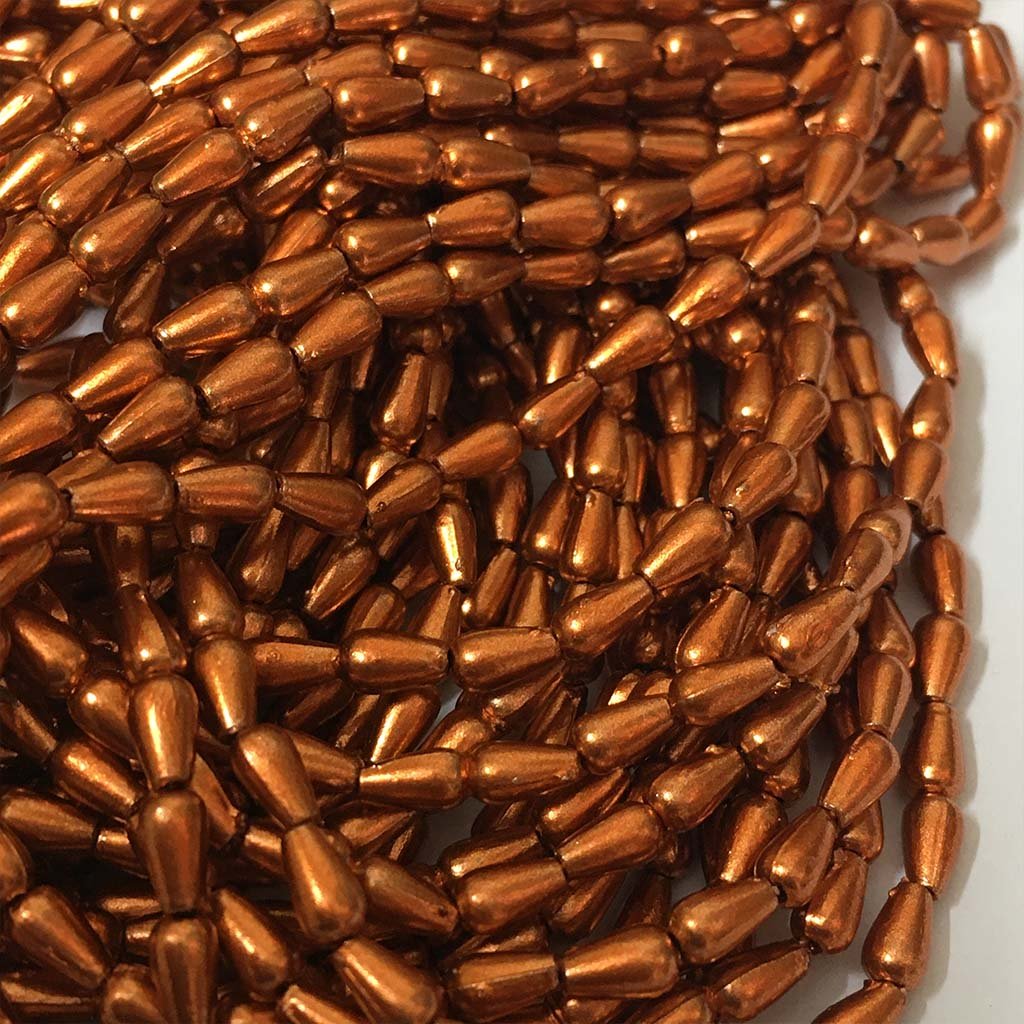
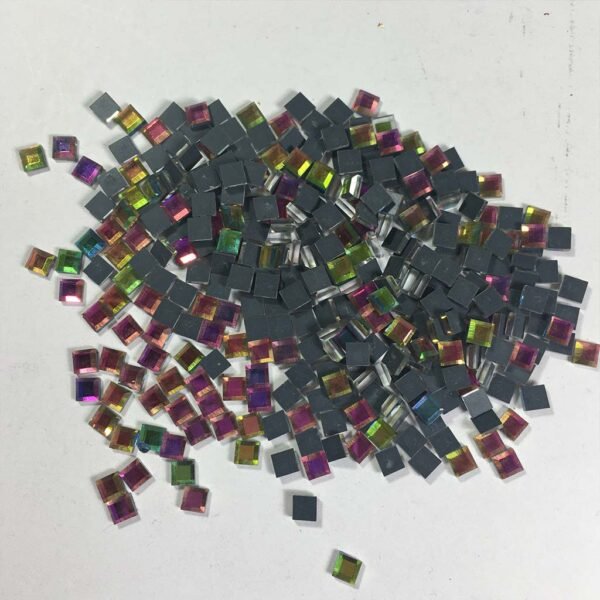
- Beads, sequins, or crystals (optional)
Step 1: Prepare Your Workspace
Find a clean and well-lit area to work on your silk thread bangle. Lay down a protective sheet or cloth to catch any excess glue or thread.
Step 2: Select Your Silk Threads
Choose the silk threads you want to wrap around your bangle. You can opt for a single color or experiment with multiple colors to create a vibrant and eye-catching design.
Step 3: Apply Glue to the Bangle
Apply a small amount of glue to one end of the bangle. This will help secure the silk thread in place as you begin wrapping.
Step 4: Start Wrapping
Take one end of the silk thread and press it onto the glued area of the bangle. Begin wrapping the thread tightly around the bangle, making sure to cover the entire surface. Continue wrapping until you reach the end of the thread or the desired length.
Step 5: Secure the Thread
Apply another small amount of glue to the end of the thread and press it onto the bangle to secure it in place. Trim any excess thread with scissors.
Step 6: Add a Pop of Color
If you want to add some extra flair to your silk thread bangle, you can incorporate beads, sequins, or crystals. Apply a small dab of glue to the desired area and carefully place the embellishment onto the bangle. Allow the glue to dry completely before moving on.
Step 7: Repeat and Experiment
Repeat Steps 3 to 6 with different colors of silk thread or various combinations to create a unique pattern or design. Don’t be afraid to experiment and let your creativity shine!
Step 8: Let It Dry
Once you’ve finished wrapping and embellishing your bangle, set it aside to dry completely. This will ensure that the silk thread and any added decorations are securely attached.
Step 9: Finishing Touches
Inspect your silk thread bangle for any loose threads or areas that may need additional glue. Make any necessary adjustments to ensure a polished and professional-looking final product.
Step 10: Wear and Enjoy
Once your silk thread bangle is dry and ready, slip it onto your wrist and admire your handiwork. Show off your unique creation to friends and family, or give it as a thoughtful gift to someone special.
Step 11: Maintenance Tips
To keep your silk thread bangle looking its best, avoid exposing it to excessive moisture or rough handling. If needed, gently clean the surface with a soft cloth or brush to remove any dirt or dust.
Step 12: Unleash Your Creativity
Now that you’ve mastered the art of making a silk thread bangle, let your imagination run wild. Experiment with different colors, patterns, and embellishments to create a collection of unique bangles that reflect your personal style.
Step 13: Share Your Creations
Take pride in your creations and share them with others. Post pictures of your silk thread bangles on social media or join online communities where you can connect with fellow DIY enthusiasts and exchange ideas.
Step 14: Have Fun!
Remember, the most important thing is to have fun while making your silk thread bangle. Enjoy the process and embrace the satisfaction of making something special with your own hands.
So, what are you waiting for? Gather your materials, follow these steps, and get ready to create your very own designer silk thread bangle. Let your creativity shine and enjoy the joy of wearing a one-of-a-kind accessory!


